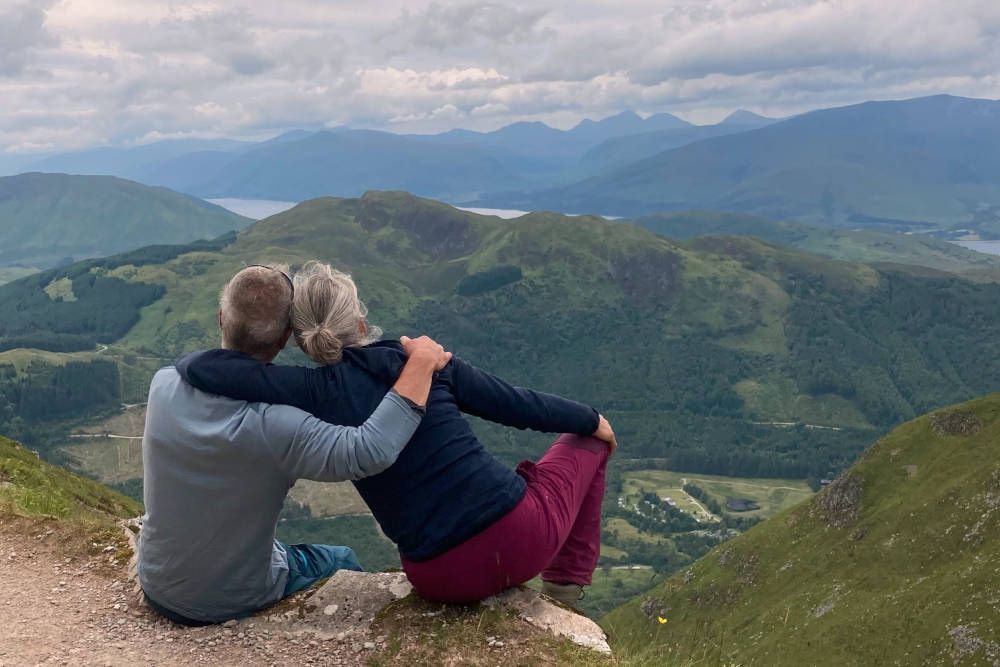
Ben Nevis near Fort William is Scotland’s highest mountain. Every year, more than 150,000 enthusiasts make the hike to the summit at 1,345 metres. Although the climb is not super difficult for someone in good walking condition, it can still often go wrong. This is why Fort William’s rescue service is, unfortunately, the very busiest in the whole of the UK. During the four days we were in the village, we heard the rescue helicopters several times a day. Hence, in this blog, we give you 10 tips for climbing Ben Nevis safely. But first, we will give you some practical information about the climb itself.
Practical information on climbing Ben Nevis
The total trek to the summit and back takes an average of 6 to 8 hours, depending on your pace and number of breaks. We took just under 5.5 hours with a few short stops. This was mainly due to the weather at the top: it was far too cold and foggy to stay there any longer. Even though we made the hike in the first half of July!
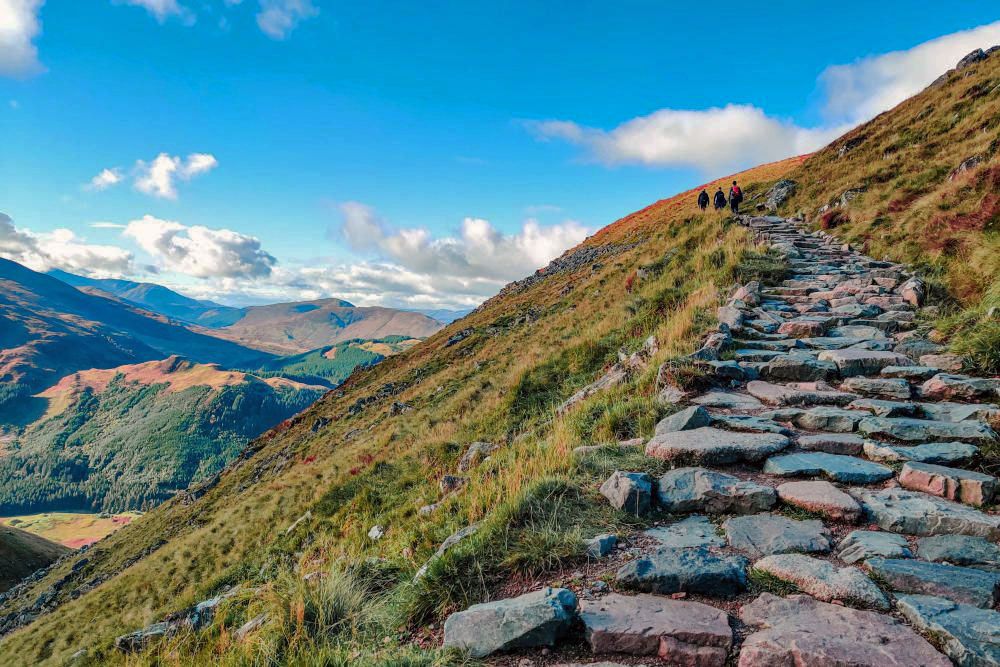
The total length of the hike is 16 kilometres. The hike starts practically at sea level and in 8 kilometres you climb to the top. So you really do get up to 1,345 altimeters when climbing. No stretch is flat or descending, you keep climbing for hours. The return trip is along the same path.
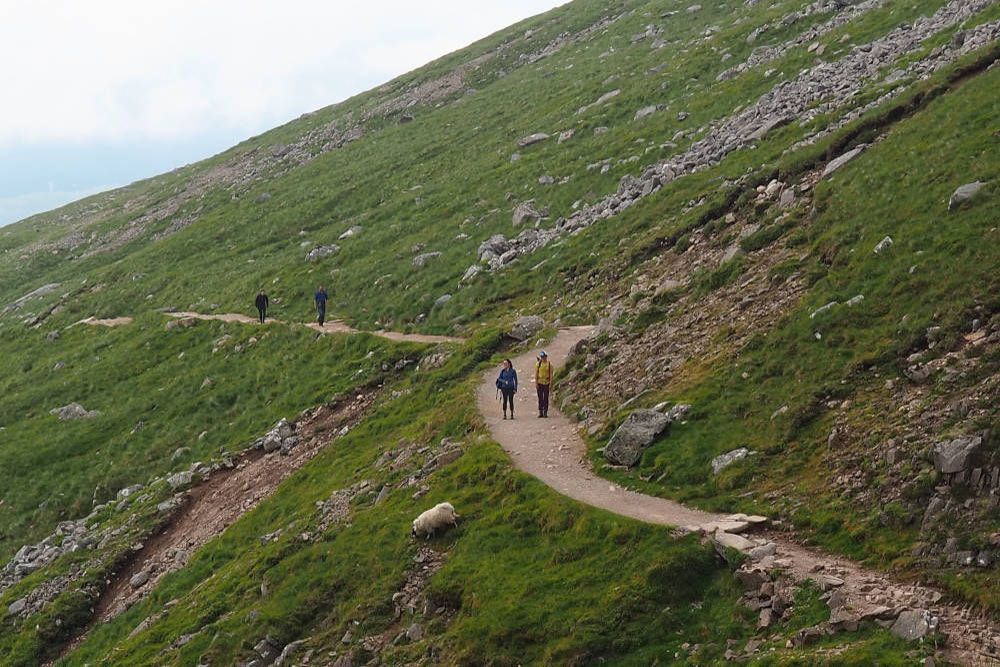
You really have to do it. Anyway, you don’t start the walk alone because there is plenty of interest in this hike every day. There is really only one fork during the whole hike. About halfway up the climb, you come to a T-junction where you have to turn right. This is at the “Red Burn” point. Don’t turn left onto the North Face path as you will not reach the summit. In fog and snow, the last part to the summit can be difficult to find. There you will also find the dangerous cliff Five Finger Gully. Stay as far away from there as possible.
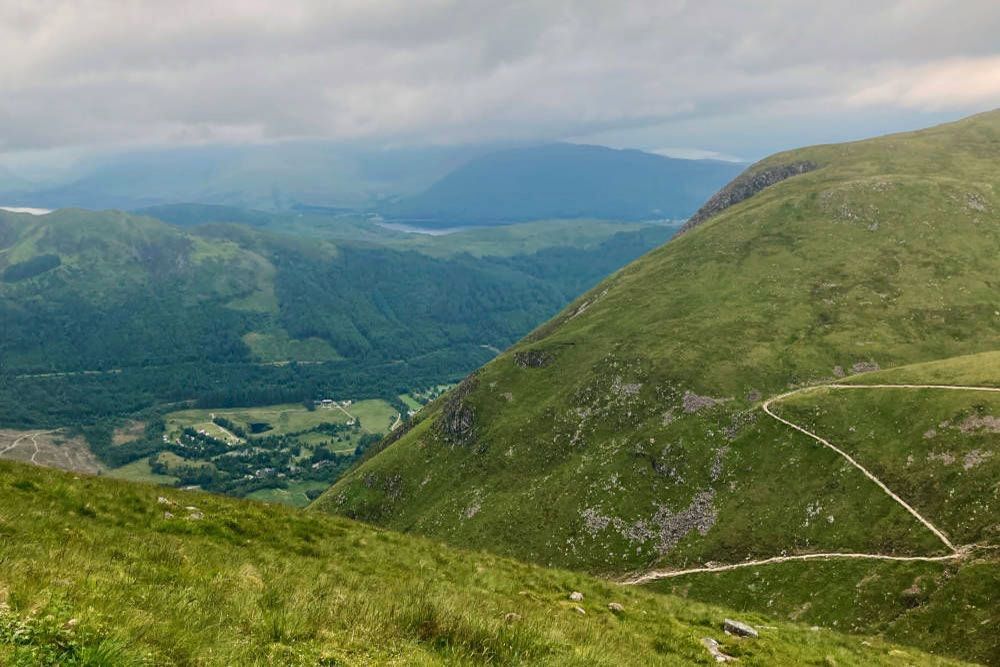
The path is passable at first, without much trouble you walk that part. As you get higher, it gets trickier. It becomes increasingly rough and stony as you approach the summit.
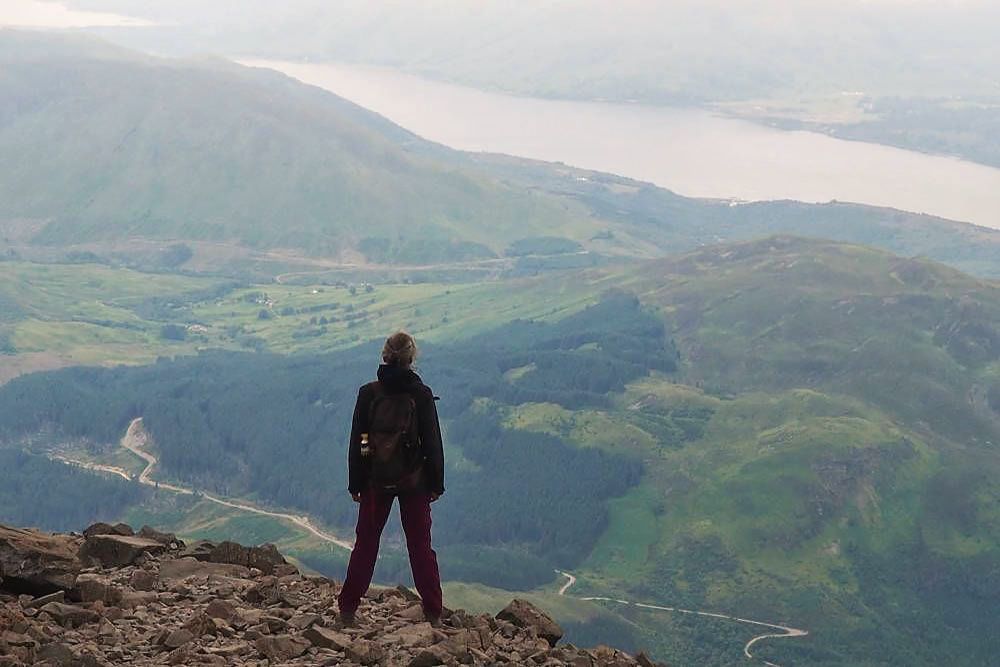
10 tips for climbing Ben Nevis safely
With these 10 tips, you will enjoy a beautiful walk with the reward of reaching the top of Ben Nevis.
# 1 Consider your physical condition
Don’t overestimate what you can do. Start this walk only if you are in good shape. We soon caught up with people who were panting like a horse after a few hundred metres. And that was still on the easiest part. For them, the climb was clearly far too hard, but they wanted to continue anyway.
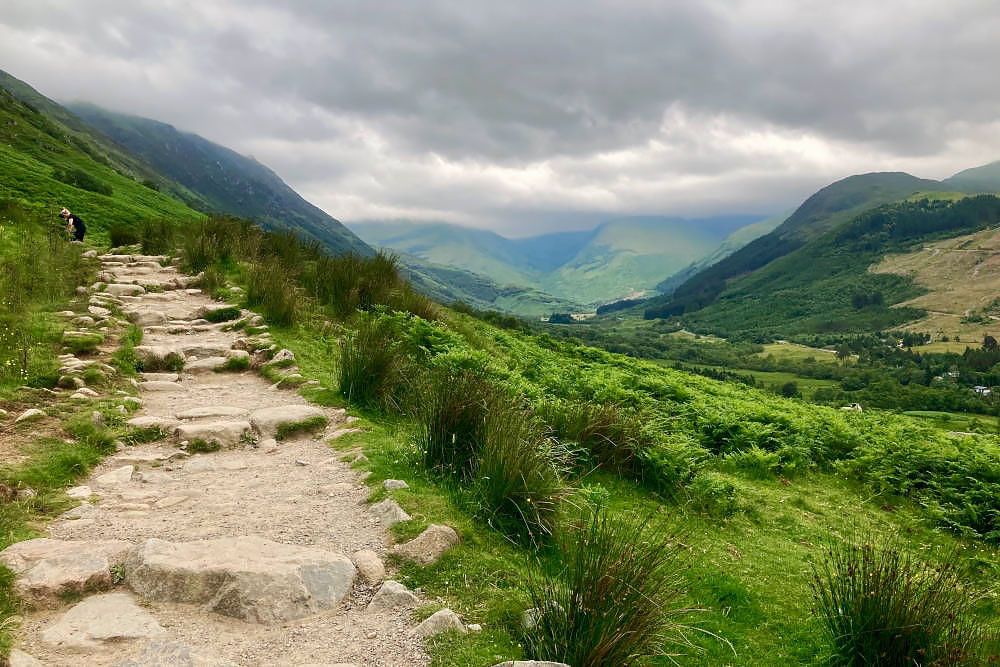
# 2 Inform others of your departure and expected end time
If you are going to climb Ben Nevis, it is useful to inform others of your plans. For example, tell your hotel what your schedule is and approximately what time you expect to be back. Also, give your phone number to someone so they can contact you.
# 3 Consult the weather forecast in advance
Don’t do this via your weather app on your mobile phone but check beforehand with an official meteorological station to see what the weather is like on the mountain. You can use these two websites for this:
- https://mwis.org.uk/forecasts/scottish/west-highlands
- https://metoffice.gov.uk/public/weather/forecast
You can also get a reliable and up-to-date weather forecast at the Ben Nevis Visitor Centre.
The weather can be completely different at the foot of the mountain than on top. For instance, we left with slightly cloudy and occasionally sunny weather. The higher we got, the foggier it became. At the summit, visibility was very limited, and it was freezing cold. We could even see snow on patches. And that on the 11th of July!
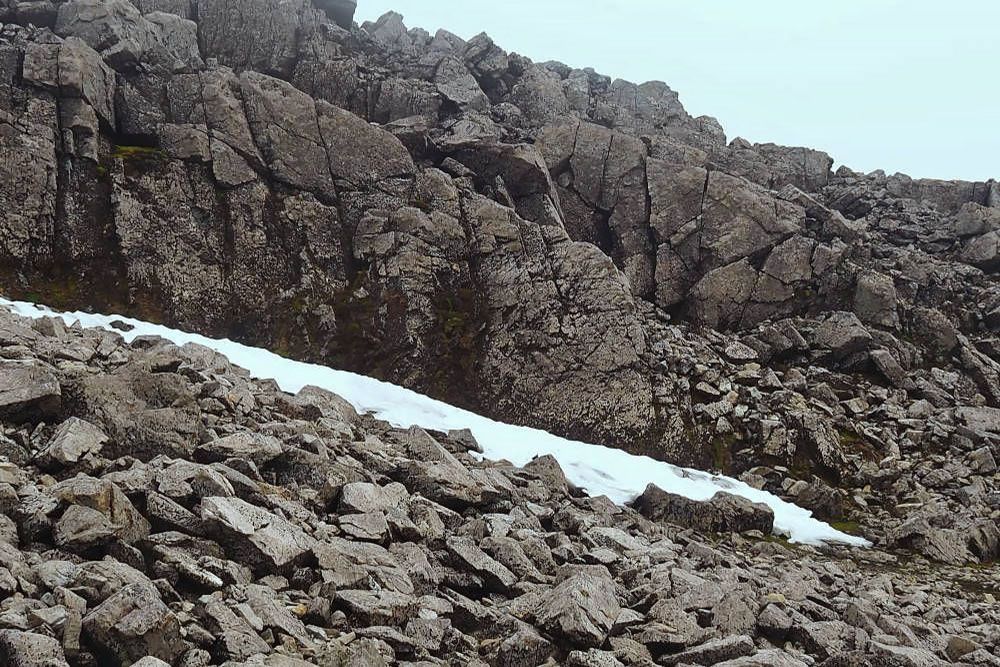
# 4 Leave as early as possible
The earlier you leave, the more time you have to take over your hike, take breaks and, above all, enjoy the views. We started our hike a little after eight o’clock. The big advantage is also that it is still quiet then at the start of the hike. When we returned around two o’clock, we saw people still starting the hike. That’s asking for trouble.
# 5 Keep track of how long it takes you to get to Red Burn
Halfway up, you come to the point Red Burn. This is at the T-junction where you continue walking to the summit on the right. You should actually arrive here 2 hours after the start. For the second half of the climb, definitely count on a bit more time, as this part is trickier. Fatigue may also play a role then. If you spend much longer on the way to the point halfway, ask yourself urgently whether it is wise to continue the hike.
In case you think you will make up for lost time on the climb on the descent? Then we have bad news for you. The descent will cost you at least as much time as the ascent. Especially the first part of the descent is very strenuous. In addition, fatigue comes into play. Many accidents therefore happen at this part of the hike, mainly due to less coordination due to fatigue.
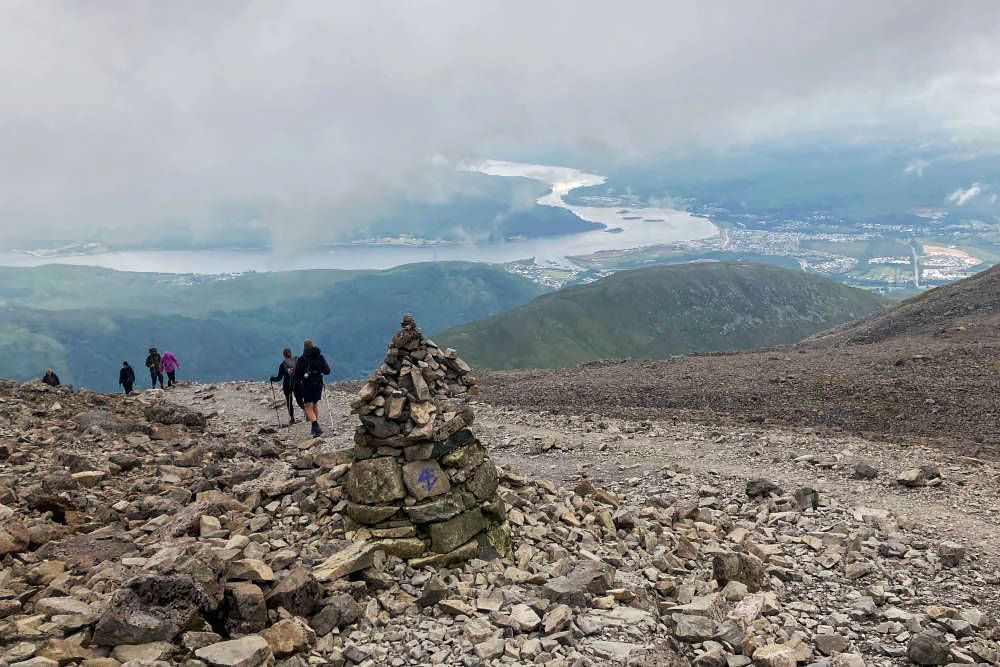
# 6 Wear good shoes
You cannot do this hike in your sandals. Yet we saw plenty of hikers planning to do so. Trainers are not wise either. You really need good hiking boots with a good tread for this climb.
#7 Bring enough provisions
You can’t buy anything anywhere along the way, including at the summit. That means you need to bring enough food and drink for about eight hours of effort. We met people who started with a small bottle of water in their hand, nothing else. That will definitely cause a ‘hunger pang’ along the way and chances of dehydration. Bring something warm to drink too, just to be sure, in case it is very cold up there.
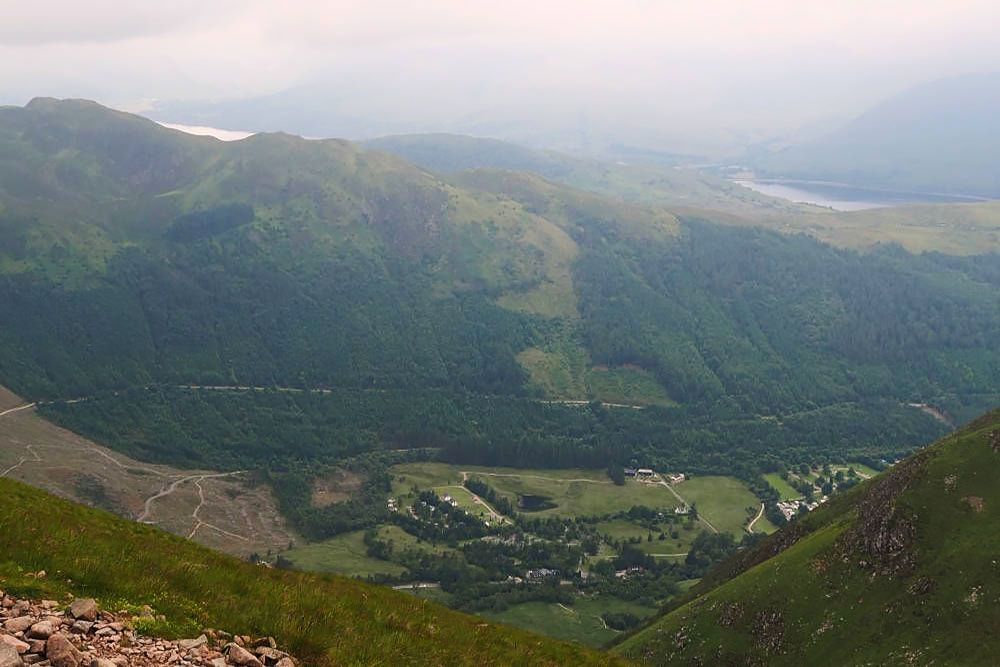
# 8 Get the right clothes
Bring clothes that can protect you from any cold, snow and rain. Even if you leave in bright weather, it can be very cold and wet up at the top in the middle of summer. It is best to work with layers of clothing. If you get warm, take off a layer. We also walked in shorts and T-shirts. But how glad we were to be able to zip our tops back up as we approached the summit and could put on all the warm layers again!
# 9 Put on the GPS tracker on your mobile
It can, as it happened to us, be very foggy towards the summit. On that last stretch, the path is difficult to see anyway due to the many stones. Then the GPS track is very handy and even prevents accidents. Because there is a narrow stretch near the summit with a steep cliff on the right (“Five Finger Gully”). People have regularly got into trouble there in bad weather conditions. You can download the GPS track on this website.
# 10 Reduce your carbon footprint
- Make sure you take all your rubbish down with you. Throughout the hike, there are no wastebaskets anywhere.
- Along the way, you will undoubtedly have to pee once. Do this at least 30 metres from running mountain water to avoid pollution.
- Should you unexpectedly have to do a “number 2” on the way, use a bag to carry everything with you. Leave no trace of your toilet visits.
- Do not leave anything on the mountain, do not place a souvenir of your visit on the summit either. Stay on the path to protect nature on the mountain.
- Do not use the small cabin on the mountain for camping or as a toilet. It is intended for rescue services.
What to do if something does happen
With all these tips, you’ll be well prepared to embark on a strenuous but beautiful climb of Ben Nevis. In the unlikely event that something does happen, act as follows:
- See if you can safely walk back on your own in this situation. After all, it sometimes takes several hours for emergency services to reach you.
- If you need assistance, call 999. You ask for the Police, then for the Mountain Rescue Team.
- Please provide the following details to the Rescue Team:
- name
- phone number
- description of the accident
- as precise a location indication as possible
- name, age and medical history of the injured person
- local weather
Enjoy the climb of Ben Nevis above all!
From all the above, you might make out what an exceptionally difficult mountaineering expedition that climb to Ben Nevis is. Fortunately, it is not; it is perfectly doable. For someone with the right precautions and in possession of a good walking condition, the hike presents no problems. But because so many people start this trek totally unprepared, the Fort William rescue service has to work overtime.
If you do the hike on a nice day, the views are stunning. But even in less beautiful weather, this hike is an experience. You can tick another thing off your bucket list after this achievement. And who knows, your accommodation might also give you a certificate as a souvenir. Our host did want to first check with some photos that we had actually made it to the top. Then he filled in the certificates and solemnly handed them over.
